The Kenmore Mini Ultra Sewing Machine is a compact‚ lightweight‚ and portable sewing machine designed for beginners and small projects. Its mechanical design ensures reliable performance‚ making it ideal for home use and on-the-go sewing needs.
Key Features of the Kenmore Mini Ultra
The Kenmore Mini Ultra Sewing Machine is equipped with a variety of features that make it a versatile and user-friendly sewing tool. It includes 10 built-in stitches‚ such as straight stitch‚ zigzag stitch‚ and decorative options‚ providing flexibility for different sewing projects. The machine also features a free-arm design‚ allowing easy access for sewing cuffs‚ sleeves‚ and other hard-to-reach areas. Its compact and lightweight design makes it portable and ideal for small sewing spaces or travel. The Mini Ultra comes with an automatic needle threader‚ simplifying the threading process and saving time. Additionally‚ it includes a top drop-in bobbin system‚ which is easy to manage and reduces the risk of bobbin-related issues. The machine is designed to handle a variety of fabrics‚ from delicate materials to medium-weight fabrics‚ making it suitable for both beginners and experienced sewers. The Kenmore Mini Ultra also offers a durable construction despite its compact size‚ ensuring long-lasting performance. With its easy-to-use controls and intuitive design‚ this machine is perfect for crafting‚ repairs‚ and small-scale sewing projects. The model number for this machine is 385.11206300‚ and it comes with essential accessories like a mini screwdriver and rubber ring for maintenance and adjustments.
Setting Up Your Sewing Machine
Setting up the Kenmore Mini Ultra Sewing Machine involves unboxing‚ inventorying accessories‚ and familiarizing yourself with its parts. Ensure all components are accounted for and understand their functions before proceeding to threading and operation.
Unboxing and Initial Inventory
When you unbox your Kenmore Mini Ultra Sewing Machine‚ start by carefully removing all items from the packaging. Ensure the sewing machine‚ power cord‚ and accessories are included; Check for a bobbin‚ mini screwdriver‚ and any additional presser feet or attachments. Verify that all components are undamaged and accounted for. Refer to the manual for a detailed list of included items. Familiarize yourself with each part‚ such as the spool pins‚ tension discs‚ and bobbin winder‚ to ensure proper setup. If any accessories are missing or damaged‚ contact customer support immediately. Organize the accessories in a safe place for easy access during operation. Before proceeding‚ double-check that all parts match the inventory list provided in the user manual to avoid any setup issues later.
Identifying Machine Parts
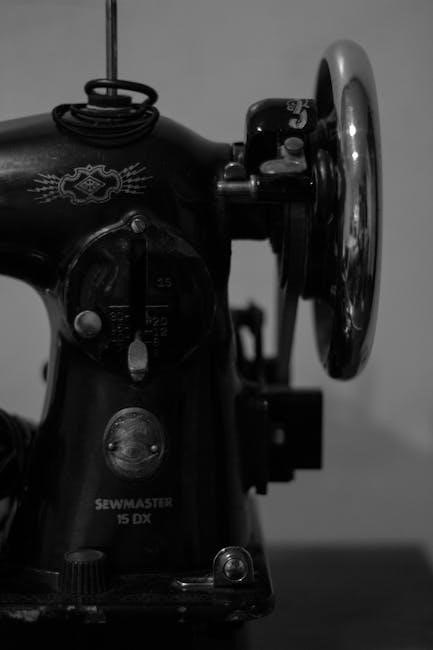
Familiarizing yourself with the Kenmore Mini Ultra Sewing Machine’s components is essential for proper operation. Locate the spool pins‚ tension discs‚ and bobbin winder‚ which are crucial for threading. The stitch selector dial allows you to choose from various stitches‚ while the presser foot lever helps in lifting or lowering the presser foot. Identify the power cord‚ on/off switch‚ and speed control for basic machine operation. The bobbin compartment‚ located beneath the needle plate‚ houses the bobbin‚ ensuring smooth stitching. Examine the needle clamp screw to secure the needle properly. Note the reverse stitch lever for reinforcing seams and the thread cutter for trimming excess thread. Finally‚ check the accessory compartment for storing small parts like bobbins and presser feet. Understanding each part’s function will help you use the machine efficiently and troubleshoot issues. Refer to the manual’s diagrams for visual guidance to ensure accurate identification of all components.
Threading and Bobbin Management
Proper threading and bobbin management are crucial for smooth stitching. Follow the manual’s step-by-step guide to thread the machine correctly‚ ensuring the thread passes through the tension disc and take-up lever. Wind the bobbin evenly and insert it securely to maintain consistent stitches.
Step-by-Step Threading Guide
Threading your Kenmore Mini Ultra Sewing Machine correctly is essential for smooth stitching and proper machine function. Follow these steps carefully:
- Turn on the machine and ensure it is set to the neutral position.
- Locate the spool pin and pull the thread through the thread guide at the top of the machine.
- Pass the thread through the tension disc‚ ensuring it clicks into place.
- Guide the thread down through the take-up lever and then through the thread channel near the needle bar.
- Insert the thread through the needle eye from front to back.
- Gently pull the thread to remove any slack and ensure it is seated properly.
- Test the thread tension by gently tugging on the thread while observing the tension disc.
Avoid pulling the thread too tightly‚ as this may cause misalignment. If threading issues persist‚ refer to the troubleshooting section in the manual. Proper threading ensures consistent stitches and prevents machine jamming.
Bobbin Winding and Installation
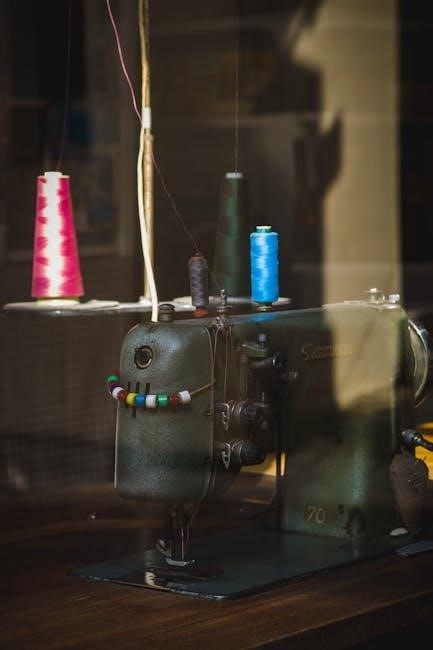
Properly winding and installing the bobbin is crucial for smooth stitching on the Kenmore Mini Ultra Sewing Machine. Start by placing the bobbin on the bobbin winder‚ ensuring it is seated securely. Hold the thread end and gently wind it clockwise around the bobbin‚ keeping the thread taut but not overly tight. Once the bobbin is sufficiently wound‚ cut the thread‚ leaving a small tail.
To install the bobbin‚ lift the needle plate cover and locate the bobbin case. Insert the bobbin into the case‚ ensuring the thread tail is positioned through the bobbin case slot. Gently pull the thread to seat the bobbin correctly. Replace the needle plate cover and test the machine by sewing a few stitches to ensure proper thread flow and tension. If the bobbin does not spin smoothly‚ refer to the troubleshooting section in the manual for assistance. Proper bobbin installation prevents thread bunching and ensures even stitching.
Basic Sewing Operations
The Kenmore Mini Ultra Sewing Machine is perfect for basic sewing tasks‚ offering straight stitch and zigzag options. Its lightweight‚ portable design makes it easy to handle small projects and repairs with ease and precision always.
Starting Your First Sewing Project
Starting your first sewing project with the Kenmore Mini Ultra Sewing Machine is an exciting step toward creating something unique. Before you begin‚ ensure your machine is properly set up and threaded. Choose a simple fabric like cotton to practice basic stitches.
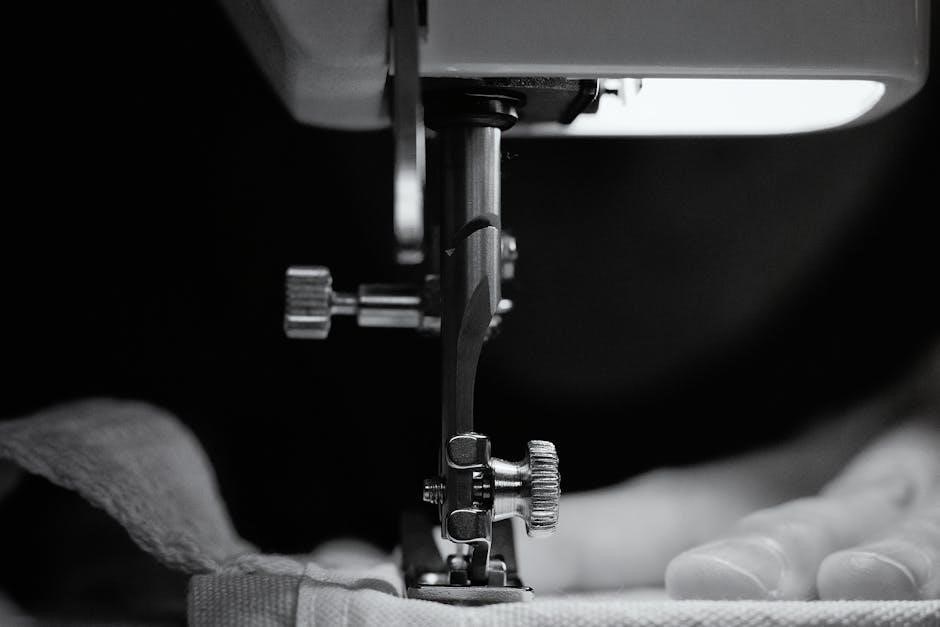
Begin by selecting the straight stitch option‚ as it is ideal for straight-line sewing. Place your fabric under the presser foot‚ aligning the edge with the machine’s guide. Gently hold the fabric steady and press the pedal to start sewing at a slow‚ steady pace.
Once you’re comfortable with the straight stitch‚ experiment with the zigzag stitch for a decorative edge. Always cut excess thread after completing a seam. If you make a mistake‚ use a seam ripper to carefully remove stitches without damaging the fabric.
Remember to wind and install a bobbin before starting‚ as it is essential for creating consistent stitches. If the machine jams‚ turn it off‚ and gently remove the fabric before restarting. Keep the machine clean and well-oiled for optimal performance.
Practice is key to mastering the Kenmore Mini Ultra. Start with small projects like sewing a straight line or hemming a scarf. As you gain confidence‚ you can explore more complex stitches and techniques. Happy sewing!
Selecting Basic Stitches
Selecting the right stitch is essential for achieving professional-looking results with your Kenmore Mini Ultra Sewing Machine. The machine offers several basic stitches‚ including the straight stitch and zigzag stitch‚ which are perfect for various sewing tasks.
The straight stitch is ideal for sewing straight lines‚ such as hemming pants or sewing two pieces of fabric together. It provides a clean and simple finish. For more decorative edges or stretchy fabrics‚ the zigzag stitch is a great option. It adds a decorative touch while preventing fraying.
To select a stitch‚ simply turn the stitch selector dial to the desired stitch symbol. The machine will automatically adjust the stitch length and width. Always refer to your user manual for specific stitch recommendations based on fabric type and project needs.
Practice using different stitches on scrap fabric to ensure the best results. By mastering these basic stitches‚ you can expand your sewing capabilities and tackle a variety of projects with confidence.
Advanced Features and Functions
The Kenmore Mini Ultra Sewing Machine offers advanced features like decorative stitches‚ adjustable stitch length‚ and width settings. It also includes a free-arm option for sewing cuffs and sleeves‚ enhancing your sewing experience with versatility and precision for complex projects.
Exploring Decorative Stitches
The Kenmore Mini Ultra Sewing Machine offers a variety of decorative stitches‚ making it a versatile tool for enhancing your sewing projects. With 10 built-in stitches‚ including straight stitch‚ zigzag‚ and blind hem‚ you can add intricate details to fabrics. These stitches are perfect for embroidery‚ quilting‚ and crafting unique designs.
To explore decorative stitches‚ refer to your user manual for guidance on selecting and customizing them. The machine allows you to adjust stitch length and width‚ giving you control over the final look. Experiment with different patterns to create personalized garments‚ home décor‚ or accessories.
Decorative stitches are ideal for adding flair to seams‚ hems‚ and edges. They also enable you to repair or embellish existing items creatively. Whether you’re a beginner or an experienced sewer‚ the Kenmore Mini Ultra’s decorative stitches offer endless possibilities for creative expression.
Remember to practice on scrap fabric before applying decorative stitches to your final project. This ensures the desired results and helps you master the technique. By exploring these features‚ you can unlock the full potential of your Kenmore Mini Ultra Sewing Machine and bring your sewing ideas to life.
Maintenance and Cleaning
Regular maintenance ensures optimal performance. Oil the machine as per the manual‚ clean dust and lint‚ and check for wear. Proper care extends the machine’s life and ensures smooth operation for all your sewing projects.
Cleaning the Machine
Cleaning your Kenmore Mini Ultra Sewing Machine is essential for maintaining its performance and longevity. Regularly remove dust‚ lint‚ and debris from the machine’s exterior and interior using a soft brush or a clean‚ dry cloth. Avoid using harsh chemicals or abrasive materials that could damage the finish or harm internal components.
For thorough cleaning‚ gently open the machine’s cover and inspect the bobbin area‚ tension discs‚ and stitch plate. Use compressed air to blow out loose lint and threads. After cleaning‚ ensure all parts are dry before sewing again. Regular oiling‚ as outlined in the manual‚ will keep the machine running smoothly.
Cleaning should be done after each project to prevent fabric residue from building up. Always refer to the user manual for specific cleaning instructions tailored to your Kenmore Mini Ultra model. Proper maintenance ensures consistent stitching and prevents mechanical issues. By following these steps‚ you can keep your sewing machine in excellent condition for years of reliable service.